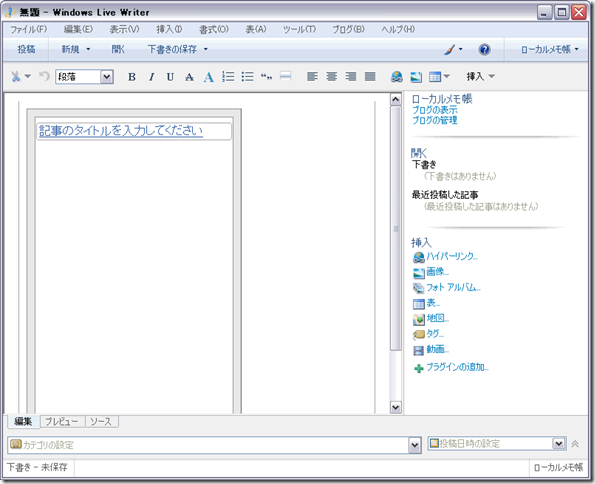
Windows Live Writer のインストールは非常に簡単なので省略。
ダウンロードは、ここから行える。
1) 導入後、プログラム・メニューから、「Windows Live Writer」を選択。
2)「次へ」をクリック
3) WordPress は、選択肢に無いので、「他のブログサービス」を選択。
4)ブログのアドレスと、ユーザーID/パスワードを設定。
5)「WordPress 2.2+」を選択
ブログのリモート投稿 URLは、「ブログのアドレス + xmlrpc.php 」になる。デフォルトで表示してくれる。
6)「はい」を選択。
7)ブログ名を入れる。
8)以上で終了。


